
Managing your contact settings
In your contact settings, you can change your email address, change the mobile phone number your SMS texts are sent to, and change your notification settings for schedule change alerts.
Changing your email address
You can change the email address your email notifications are sent to.
To change your email address:
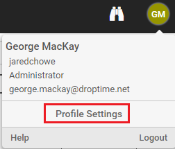
- Click your avatar on the right side of the screen and select Profile Settings.
- Go to the Contact Settings tab.
- From the Change Email Address section, enter your new email address, and then enter it again in the Confirm Email Address field.
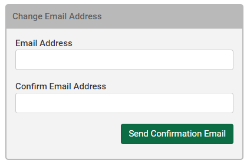
- Click Send Confirmation Email. A verification link is sent to the updated email address.
- Open the verification email, and click the link to verify your email address change.
Changing the mobile phone number for your SMS texts
You can change the mobile phone number your SMS texts are sent to.
- Click your avatar on the right side of the screen and select Profile Settings.
- Go to the Contact Settings tab.
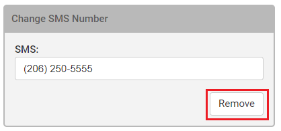
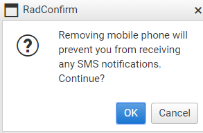
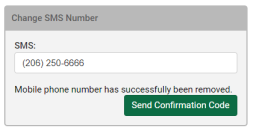
- Enter the current mobile phone number where your SMS texts are sent to and click Remove.
- Click OK.
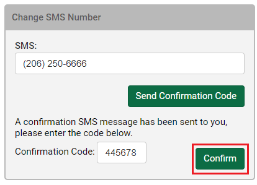
- Enter the new mobile phone number and click Send Confirmation Code.
- Enter the confirmation code sent to the new mobile phone number and click Confirm.
Managing your Schedule change alerts
If you are a foreman, schedule change alerts can be sent to you each time any changes are made to posted dispatches to which you are assigned.
If you are a project manager, plant manager, or other user, and the role to which you are assigned has the changes to accessible plants option selected (Admin > Users > [Role name] > Alerts), you will receive those alerts as well if any changes are made to dispatches on the posted schedule for plants to which you have access.
You can have your Schedule change alerts sent by email or SMS text.
To change this setting:
- Click your avatar on the right side of the screen and select Profile Settings.
- Go to the Contact Settings tab.
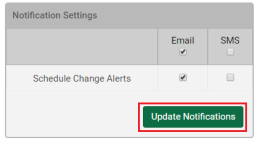
- Select or remove the Email and SMS checkboxes to have schedule change alerts sent by email or SMS text, respectively.
- Click Update Notifications.
Enabling single sign-on using your Facebook account
You can enable sign-on with your Facebook or Google account.
To enable single sign-on using Facebook:
- Click your avatar on the right side of the screen and select Profile Settings.
- Go to the Single Sign-on tab.
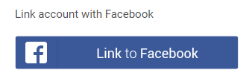
- Click Link to Facebook.
- Click Continue as [first name].
To disable single sign-on with Facebook:
- Click your avatar on the right side of the screen and select Profile Settings.
- Go to the Single Sign-on tab.
- Click Unlink from Facebook.
Enabling single sign-on using your Google account
You can enable sign-on with your Facebook or Google account.
To enable single sign-on using Google:
- Click your avatar on the right side of the screen and select Profile Settings.
- Go to the Single Sign-on tab.
- Click Link to Google.
- If you have multiple Gmail accounts, choose the one that you want to link to.
To disable single sign-on with Google:
- Click your avatar on the right side of the screen and select Profile Settings.
- Go to the Single Sign-on tab.
- Click Unlink from Google.
Copyright © 2020 DropTime